
The DIY Itch and the Apple-Shaped Limitation
Alright, let's be real! I've always been one of those "I can build that!" type. Tinkering with electronics is my jam. Back in my Electrical Engineering days, I designed and built a prototype for a custom sound mixer from different electronic parts I could lay my hands on. From game controllers, to amplifiers, laptop chargers, you name it, this aimed to push the boundaries beyond what major brands like Pioneer and Numark offered. It started as a dream for a startup. Despite visiting factories in China, the project ultimately stalled due to a lack of funding. (But more on that in another post.)

Photo of the DIY Sound Mixer I made a few years ago
Fast forward to my journey in Cyber Security. Having a strong foundation in software development, I'm now focused on securing the soft I build, and providing secure solutions for businesses. As a Solutions Architect, understanding self-hosted computing and virtualized environments is essential.
But here's the rub: my trusty MacBook Air, (bless its M-chip heart) ,wasn't cutting it. Trying to run x86 Linux distros on ARM architecture is like trying to fit a square peg into a round... well, you get the picture.
While I had a perfectly decent Huawei laptop (Core i7 14th Gen, 16GB RAM) running that... ahem... 'popular' operating system (Windows, if you must know, and yes, I have opinions – it felt like my system had contracted every piece of digital malware known to humankind), it just wasn't scalable enough for my grand plans. So, I decided to embark on this project: I was going to build my own PC!

Photo of MacBook Air side by side my HUAWEI MateBook (MacBook Wannabe)
The Quest for the Perfect Hardware: No RGB Rainbows, Please!
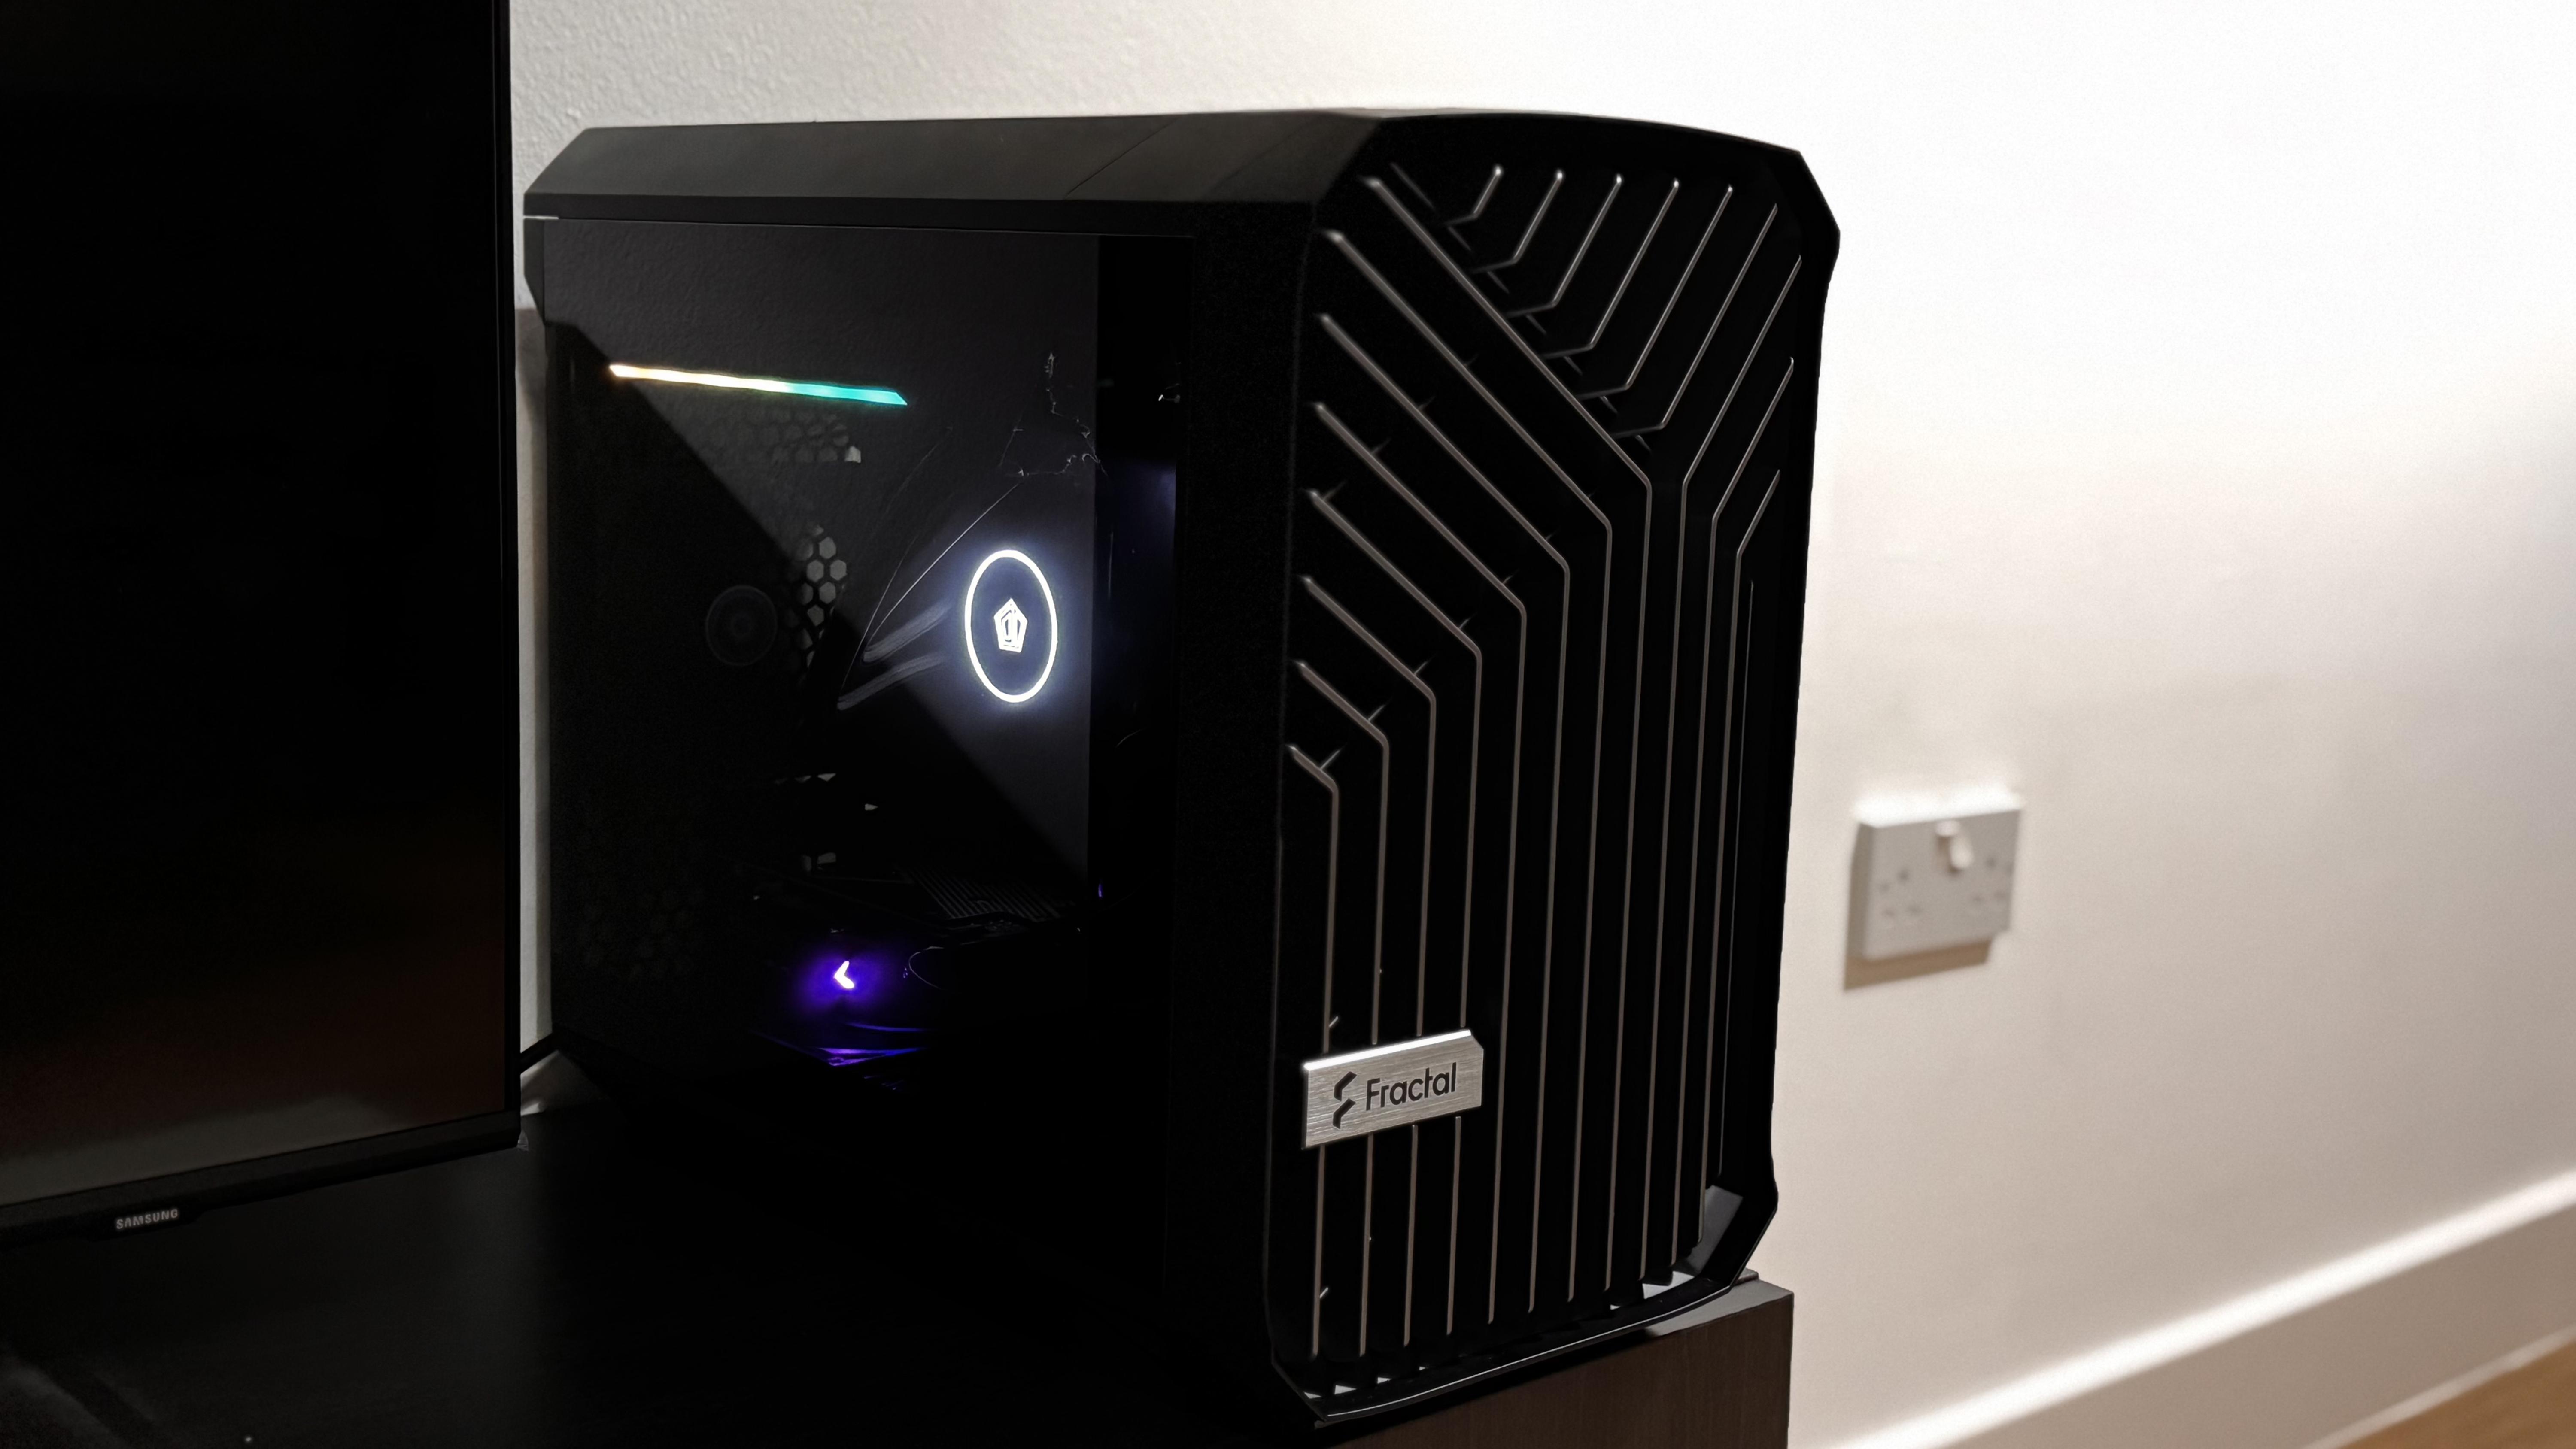
First things first, research! I had some very specific criteria. No giant, space-hogging cases, and definitely no blinding RGB light shows. I wanted something sleek, something that whispered "power" rather than scream "rave party." Here comes Fractal Design Torrent Nano. This case hit the sweet spot – compact yet spacious, with ample room for my fan-tastic plans.

Photo of Fractal Torrent Nano Case
I understood the core components, but was definitely a novice when it came to the specific terminology and intricacies of PC building, especially the gaming-centric aspects. You see, a few months ago, I wouldn't have known all those PC build names and specs, since I don't game. In my head, I was like, "Wohh! that one no consign me" (in Nigerian pidgin, which means "This is none of my concern." ). Anyways, moving on...
The Core Components
Processor: Intel Core i7 14700KF (14th Gen, Unlocked) – Good core count for penetration testing, malware analysis, and forensic investigations.
Graphics Card: RTX 3060 – No need for a monster GPU since I wasn’t running AI models or crazy graphics-heavy workloads. 🎮
Cooling: 5 x 120mm fans– Two in front, two below, and one at the back and one AIO Liquid Cooler to keep things cool and quiet. ❄️
RAM: 64GB DDR5 – Thinking of upgrading to 120GB soon, but a colleague already called me "greedy" (IFYKYK, the TikTok meme). 😂
Storage: 1TB SSD – Enough to start with, but I plan to expand later, especially for a NAS setup in the future. 💾
The Build: A Nostalgic Trip Down Memory Lane
Putting the PC together was surprisingly straightforward. Taking apart the case and wielding the screwdrivers brought back memories of my childhood - tinkering with radios, and torch lights, building whatever my imagination conjured up. It was like a warm hug of nostalgia. Four and a half hours later, my PC was born!
I installed Ubuntu Desktop to test everything out, checked the ports, Wi-Fi, and the whole shebang. Everything worked as expected. Time to install the real star of the show. 😎
Software and Setup: From Desktop to Remote Powerhouse
Since this wasn't going to be my daily driver (my Mac Mini and MacBook Air handles that), I needed to make it accessible remotely. I connected it to my router via LAN and extended my broadband with a TP-Link router to manage DHCP and assign static IPs. No more dragging a monitor around whenever I needed an IP address!!
To achieve my virtualization dreams, I installed Proxmox, a bare-metal hypervisor (think of it as a super-efficient OS just for running VMs). This allowed me to create virtual machines for all my lab setups, each with its own static IP.

Photo of Proxmox Hypervisor being installed on PC
After configuring Proxmox, I moved the PC to its new home in the living room. Now, I can access it from any computer on my network, whether I'm in my workstation, living room, or bedroom.
Photo of Complete Home Lab PC Build
Future Plans: Raspberry Pi and DNS Domination
With my PC running smoothly, I've finally achieved the lab environment I've always wanted. My next project? A Raspberry Pi to manage my DNS server. Yes, I could do it on a VM, but where's the fun in that?
Stay tuned for more how-to guides and tech adventures. In the meantime, stay jiggy, and keep learning!